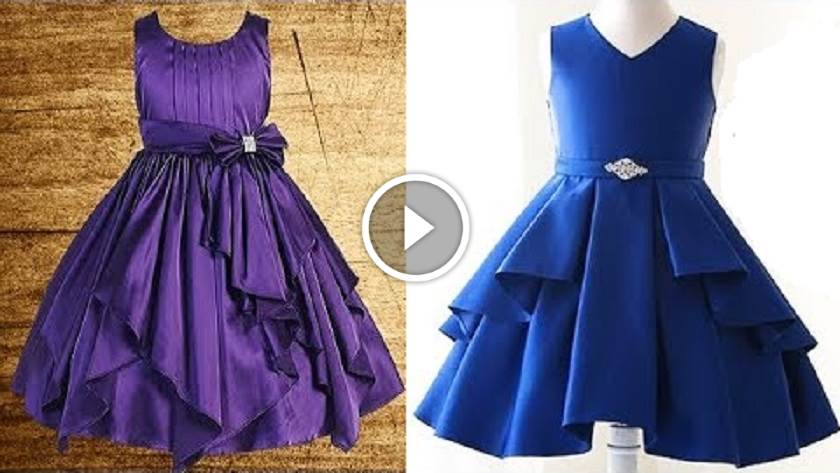
Pretty Princess Frock Cutting and Stitching Tutorials
Princess Frock Cutting and Stitching!
Life is party, dress like it. Wear shiny and bright frock because nothing can match the beauty of well stitched frock! The secret of great style is to feel good in what you wear, and the one of the best way to feel good about your clothes is when you Stitch them for yourself or for someone who is close to you. We will help you with that by explaining the procedure of stitching your very own frock step by step. Don’t worry , our ways are always like a child’s play.
Princess Frock Cutting and Stitching Tutorials
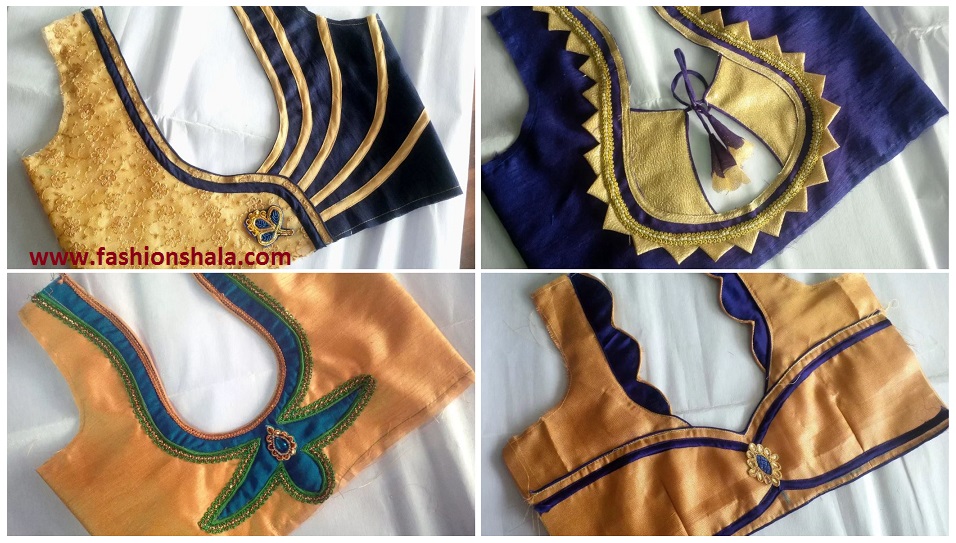
Before getting on the procedure given below are the things required to stitch these three blouse designs.
- A sewing machine
- Tailors chalk or you can use normal chalk as well
- Marker / Pen / Pencil
- Inch tape
- Scissors
- Beads and needle
- Fabric
- Threads matching with the fabric
- Different types of fabrics like – satin ,net ,lining.
- Paper
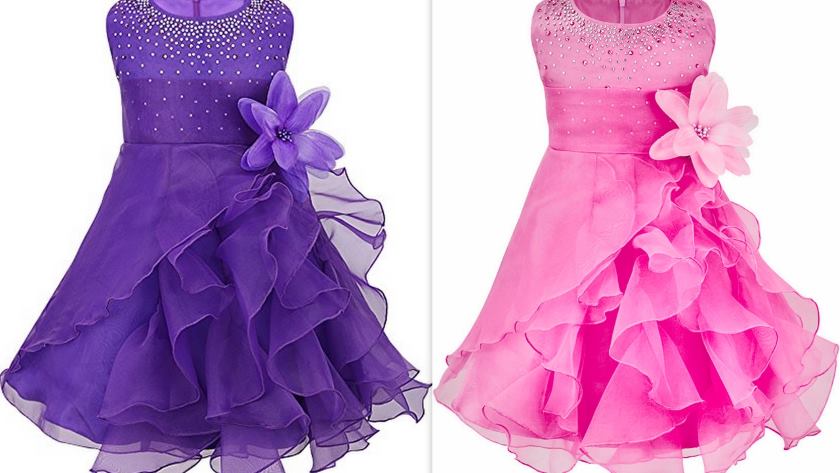
Organza Ruffled Skirt Quinceanera Dress
- Draw the measurements on the astar, net and satin using the chalk. For exact measurements and better understanding.
- Now, after drawing take the scissors and cut all the three fabrics according to the measurements drawn on them.
- Now draw the measurements of the top front of the frock on all the three fabrics.
- Again cut the three fabrics according the measurements of the top front of the frock.
- The top front of the frock is done for cutting so keep it aside.
- Take the three fabrics and cut them according measurements of the the top back of the frock with scissors.
- Now keep them all aside and take the a piece of net fabric.
- Cut it in a circular shape carefully according to the proper measurements using scissors.
- The circular cuttings from the net fabric will be used as the ruffle strips for the frock.
- Cut down 8 ruffle strips in the same way for the frock.
- Moving on to the stitching part now, now attach all the three fabrics which we cut for the front by stitching.
- Attach all the three fabrics which we cut for the back by stitching.
- Now join the front and back of the frock by stitching them from the shoulders very carefully.
- Now give the upper part of the frock a final touch by stitching it from the sides.
- Take the piece of astar for making the pleats of the frock.
- Make the pleats according to the upper part of the frock.
- Now attach the pleats which we made on the astar to the upper part of the frock by stitching.
- Now we will make the skirt, the skirt will made from net and satin. The satin will be covered with ruffle strips and s curve cur design made from the net.
- So for that take those ruffle strips and give them a final touch by doing piku on them.
- And now attach all the strips by stitching on the piece of a satin cloth which will be used to make them skirt of the frock.
- Now take net fabric and cut a curve design on it. And attach it on the rest of the satin cloth used to make the skirt.
- We have our skirt ready and now we will attach the skirt with the upper part of the frock by stitching.
- Attach invisible zipper and make the sleeves of the frock by net fabric and elastic thread.
- To give the frock a very fancy look, add a belt on the waist and shiny beads on the neck of the frock.
That’s all the frock is ready.
Useful Read: Latest Beautiful Kurti Design Cutting and Stitching – Tutorial
Princess Frock Cutting & Stitching Tutorial
- Firstly taking two pieces of paper, both having the length of 8.5 inches and breadth of 11 inches.
- One piece will be the front of the frock and the other piece will be for the back of the frock.
- Draw the measurements of the front of the frock on paper using pencil or marker.
- Cut the paper using scissors as per the measurements drawn in the last step.
- Now take another piece of paper and draw the measurements of the back of the frock using pencil or marker.
- Now cut this piece also using scissors according to the measurements drawn in the last step.
- Take another piece of paper for the skirt having length and breath both of 15 inches.
- Draw and cut the that piece of paper as per measurements for the skirt.
- Take two pieces of lining then trace the back and front of the made of paper on lining.
- Cut the lining according to the tracing done in the last step.
- Take two pieces of main fabric then trace the back and front of the made of lining on the main fabric as well.
- Cut the main fabric according to the tracing done in the last step.
- Now take the skirt made up of paper on the net fabric and then trace exactly same as the skirt made up of paper. This will be a umbrella skirt.
- Cut the net according to the tracing done in the last step.
- Cut around 15 layers of net fabric in the same way and attach all the layers from the sides.
- Now cut lining , can and net as a straight skirt which will make the skirt fluffy.
- Now we will attach the front and back of the frock by stitching in a particular way.
- And now stitch the skirt by attaching all the layers which will be of – ,lining, can, layers straight skirt and layers of umbrella cut.
- The skirt is ready and the upper part is ready.
- Main step is to attach the upper part with skirt by stitching properly.
- To give this frock a party wear look, add a shiny bow belt made from the sequin cloth.
Thank you for reading with so much of patience, we hope this was helpful.
DIY Designer Baby Frock Cutting & Stitching Tutorials